Showing posts with label lug. Show all posts

Sunday, January 19, 2014

More components arrived in the mail: 2 Tyco Kilovac contactors, lugs and fuses


After the last Wattson unit from UK, some components arrived in the mail wednesday and thursday:

2 Tyco Kilovac contactore, from Israel


Very nice stuff, brand new


Another package, from France


I got some help for opening the package


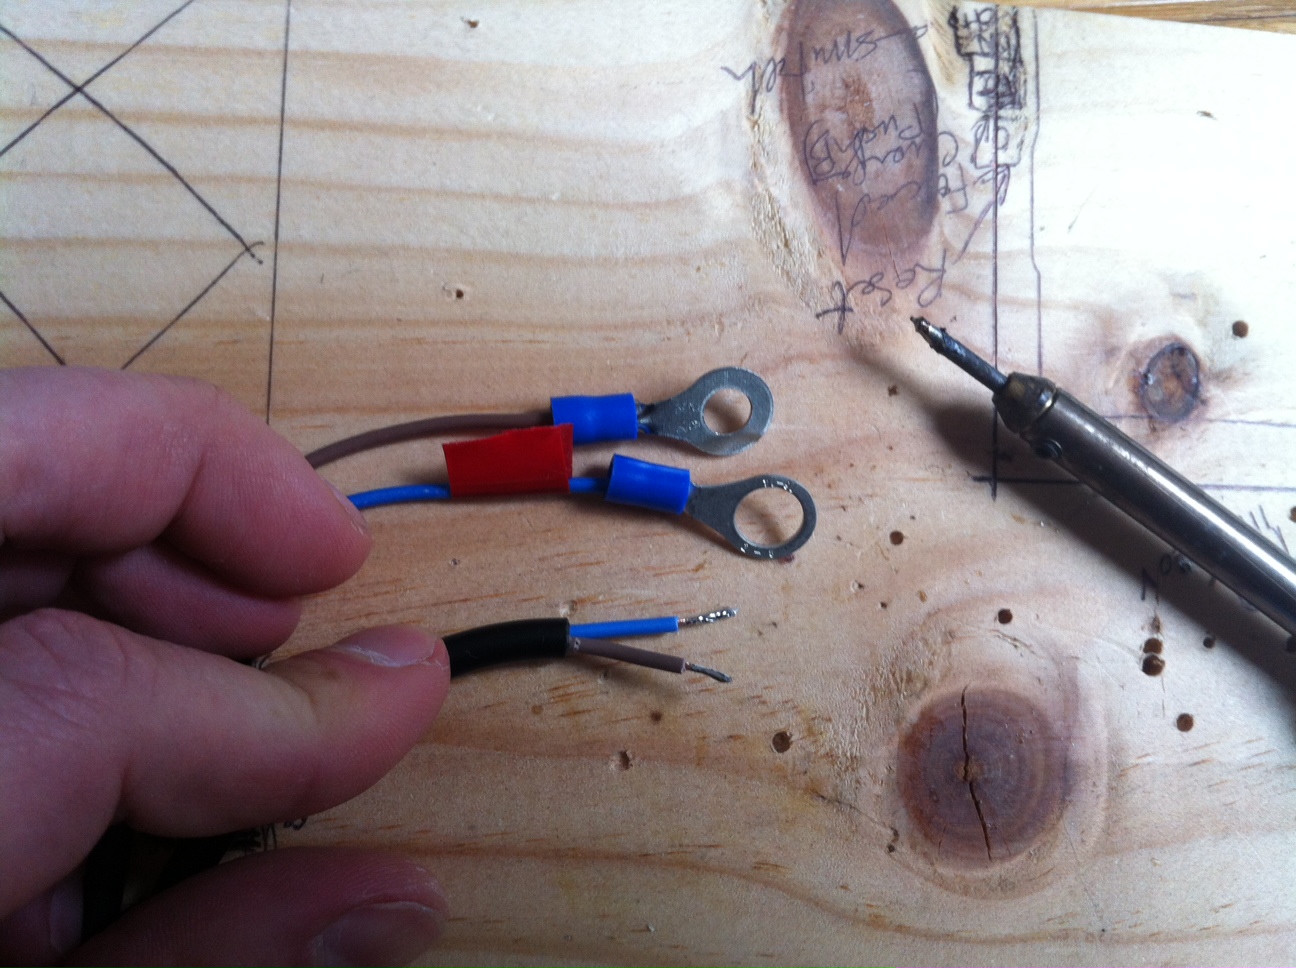
Some lugs, but a lot of them : M8 or 8mm and M6 or 6mm


by packs of 100 and some small glass 2A fuses

Maybe some are starting to guess what all this is for .... Stay tuned ...

Sunday, October 13, 2013

DIY ESS - We're moving !

Like I was writing few days ago, we are going deeper into fall and the temperature is decreasing rapidly here in Paris; It is the perfect time to go ahead and move the ESS upstairs, from our bedroom to the living/dining room, to be able to use the Forced Charge Mode at night, when electricity from the grid is cheaper thanks to our TOU (Time Of Use) plan. 

I had planned this move several weeks before, and yesterday was the right time to do this because we started using the heating again (Daikin heat pump) after several months of no use at all: The only very heaving stuff is the battery pack, and it is easy to break it into several pieces

First thing: Switch everything off: the Main Control Board Switch, then the AC breakers and the Battery Pack DC Breaker 

So here I started unscrewing the battery pack terminals and removing the cells two by two


The modified Wattson is also unplugged from the Control Board and removed from the top of the metal cabinet 


All the CALB CA180FI cells have been removed from the cabinet and moved two by two upstairs


Then, the biggest part: the cabinet is moved with all the rest in it: Chargers, Control Board, Grid Tie Inverters and Cables; the ESS is installed in the living/dining room here on top of the stairs

I left the cells in the exact same configuration and asked the kids to stay away from them (!!)

During the moving some items moved a bit and I had to rearrange them 


Now I am putting the batteries back where they were ...

Et voila !

The modified Wattson has been plugged back into the Control Board, and the second one is still displaying the Generated Power

After switching back to on the Battery Pack DC Breaker, the Control Board is now energized again, and I switch on its Main switch: The Arduino board is powered and goes through its initializing sequence, the ESS is now fully on and in Charge Mode

Everything works as usual, and the first charger is switched on by the first AC relay, controlled by the Arduino board 

A little view from the back, and the modified Wattson displays a blue Color Code, meaning the NEt Usage is Low ... perfect ! 

Keep it blue :-)

All the AC lines have been plugged back: GTI side going the Solar junction box like before, and Charger side going to any outlet of the house 

Working well: Solar + ESS = 777W  /  Net Usage = 115W

Another shot to see the kitchen in the background

Solar + ESS = 895W  /  Net Usage = 34W

Solar + ESS = 907W  /  Net Usage = 5W


Graphs for the day:
Power


Energy

Tuesday, May 21, 2013

LiFePO4 ESS - Crimping again - 35mm2 cables

Let's crimp again !  :-)

This sunday, I cut & crimped 35mm2 cables to replace the small doubled ones that could not hold high current too long ...

Now this is much better 


35mm2 copper cable into 35mm2 / 8mm lug


screwed onto the GTI side Tyco Kilovac contactor

and onto the postivie battery pack terminal

First link from the battery pack to the contactor : Done

Since I could not find any red 35mm2 cable, I just put some red tape on both ends to mark it "RED"


Here, all the cables have been replaced by 35mm2 ones; 2 mores: 
- From battery pack negative terminal to the GTI stack negative terminal
- From GTI side Tyco Kilovac contactor to the GTI stack positive terminal

Now I can put the GTI stcak and the chargers at a 1.5m distance from the battery pack and ESS Control Board / EMS - Energy Management System - ; I am planning on putting all these just outside the window to be able to charge at night - low rate - and sleep normaly - all this is in my bedroom :-) - 

GTI side Tyoc Kilovac contactor

GTI stack

Battery pack terminals

LiFePO4 ESS Battery pack

Monday, April 29, 2013

LiFePO4 DIY ESS - Charger Stuff

If you remember the last time I got 3 24V LiFePO4 Chargers, one of them did not blow any air and went into an over-temperature situation; I had my Hong Kong contact send me another one and it arrived last night


The new charger is exactly like the six others, except this blue sticker instead of orange


Only now I decided to open the problem charger, and discovered that its fan connector was simply not plugged into the charger PCB ... This was easy to fix ! :-)


I then replugged it the the ESS Control Board / EMS to test it and the fan started spinning right away :-) 


Now, let's prepare this new charger to connect it with the other ones: 
Always the same thing: remove the original US AC plug, strip the wires and apply solder to make it stronger; On the DC side, remove the plug, strip the wires and solder 8mm lug on positive and 6mm lug for negative 


Done !


So I now have 7 Low Power Chargers to feed my battery pack, and had to plug 2 on the same AC port, together pushing 650W

The stack is getting a bit high with 7 chargers !

2 chargers are connected to the same AC port

7 x 92W = 650W (roughly)

It is tight, but all the DC chargers cables fit

This is the new charger positive lug

and the negative one


Please Share this Post if you Liked it !

Please Share this Post if you Liked it ! Thanks !
Related Posts Plugin for WordPress, Blogger...