Showing posts with label switch. Show all posts

Wednesday, December 18, 2013

Renault ZOE : Battery Pack Rental lowered to 49 EUR per month

Renault announced a new rental option of the ZOE battery pack at 49EUR for 5,000km on a 36 month contract


I think more people could soon switch to EV with the ZOE since the minimum monthly rental of 79EUR was maybe too high and they would anyways drive less per year than with a regular ICE car.

Sunday, November 24, 2013

Rail Expo 2013, Windmills, and a Solar Powered Train Station

Today, I went with the kids to Rail Expo 2013, one of the biggest European exhibition about models trains


Beautiful sets ...


Very realistic


Several sets had rotating windmills ... reflecting country side new landscape ...


Back home, at night, I realized that the station I built years ago, on which I added a Solar Panel, Batteries, and LED lighting, did not work anymore ...


Underneath is the battery pack, wires, ON/OFF switch and 2 LEDs bulbs, one for the inside, one for the passengers waiting on the platform outside


This is the LED pocket flashlight used from Nature & Decouvertes


Seven of eight years ago, after building this station model, I added solar on the roof for lighting using a LED flashing light components; I guess this was my very first solar experience:-)


I will probably have to replace these batteries ...

Thursday, February 14, 2013

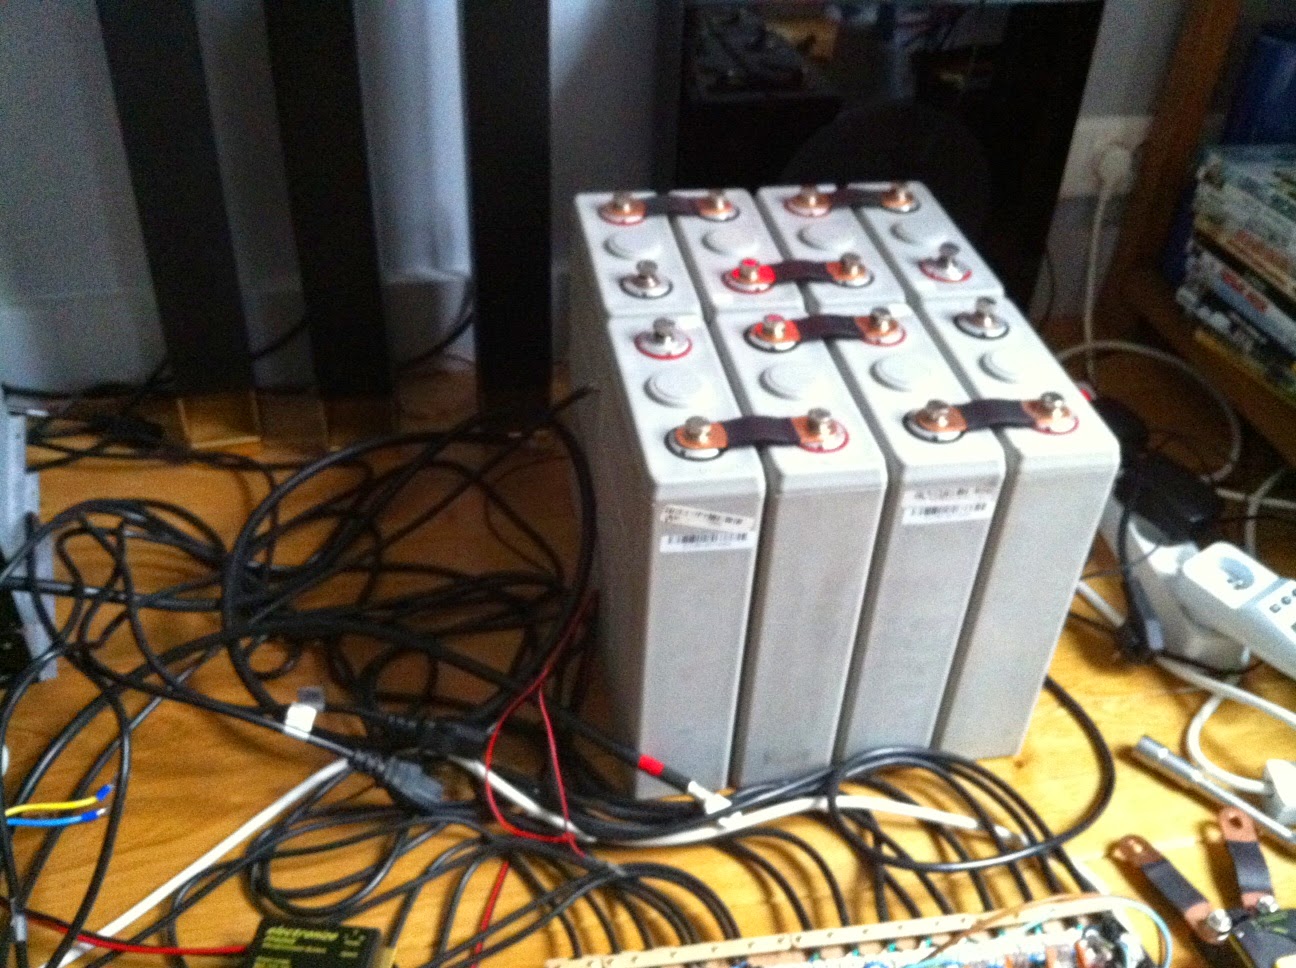
LiFePO4 ESS - The Build Continues ...

I worked late last night on my LiFePO4 ESS:

These two relays will replace this main switch that was used for Charge - OFF - GTI


These are the relays power & command wires 

Almost all the relay AC wiring is done


Programmable dual relay voltmeter mounted on the board

With the cover ...

Friday, January 4, 2013

Blue Sea Systems - Bussmann Series 187 - 150A Marine Rated DC Circuit Breaker

Another cool item came in the mail yesterday, a High Current DC Circuit Breaker from Blue Sea Systems
It is of Thermal type, rated for 150A, and will replace the cheap 100A (not real, does 60A I think) circuit breaker I have right now on my LiFePO4 ESS


It is nice and heavy

and when I close it to switch it ON, it feels solid (not at all like the other one I had, see below)


I got it on eBay from somebody working in boat maintenance in La Ciota, a Southern French harbor close to Marseille, for a good price of 55 EUR plus 5,70 EUR for shipping

Stay tuned for a test this week end: I will then be able to plug all my Grid Tie Inverters back in, without having a disconnect ...


PS:

This cheap one I got from China two years ago will be removed ...


Wednesday, October 17, 2012

LifePO4 ESS - Control Board Rebuilding Update

As of last night, this is where I ended with my BESPSS control board rebuild:

Overview of the left side of the board, the right side being the relay activated outlets

- Heavy gauge wire connecting battery pack to Kilovac contactor cut and screwed
- USB connector for Wattson USB connector (providing colors voltages)
- Charger leads input terminals, with positive connected to charger automotive relay, going through the Ampmeter, and to contactor battery positive lead; I am using solid core 2.5mm² wires here to handle the 10A coming from the charger

- A automotive fuseholder and 3A fuse are mounted vertically to save space
- The main swith is screwed to the board (was already done last time I think)
- The Arduino board is not moving
- The programmable dual relay Voltmeter is fitted between the Arduino board and the main switch 

I also ordered a 24V automotive lighter socket USB converter, that will provide 5V to the micro USB used to power the Arduino board (I had problems with the power supply using 12V); After testing it, I will probably open it and only keep the PCB connecting the battery 24V to its input and will plug the USB to micro USB cable in its USB output

Monday, October 15, 2012

LiFePO4 ESS - Changes to the control board

Another rainy weekend here, so it was easier to find motivation to work on the re-building of my LiFePO4 ESS control board: 
The idea is to put all the parts on the main board and detach them from the battery pack, charger and grid tie inverters

First Idisconnected the programmable voltmeter wires

Ampmeter too was removed along with the automotive 24V relay and the Tyco Kilovac contactor

I tried several times to arrange parts on the board 

and finally came out with this layout

The next day, it was time to make a strong support for the main switch (3 postions: 0, Charger, Grid Tie Inverters)

A used a left over piece of aluminum angle, drilled a 12mm diameter hole in it  

and cut if just the width of the big 24V 15A switch

(almost) finished product 


I then drilled 4 holes at each corner of the flat part to mount it very securely to the board

Here it is installed
Note that I got rid of the 2,5mm solid core wires going to each grid tie inverter; I am now using a thick multithreaded cable to connect the battery pack to the contactor, and the contacter to the grid tie inverters stack

A better view from the top: The Kilovac contcator is mounted flat with 2 screws
I will now have to work on the charger relay, charger leads inlet, fuse and wires layout

My father was kind enough to repair one of my grid tie invrter which had a shorted MOSFET; since it is not the first time, he used a spare one from a previous repair and wrote its reference on the post-it: MOSFET SSF7508

Since I do not have a 30A automotive fuse I simply used a 25A one, which should be enough to prtect the DC side, and anyways the input current goes up to 10, 15A maybe, not more

I then added this 6th grid tie inverter to my stack and will try it out with the rest when everything is functional

Note that I also added the 24V 10A LiFePO4 charger on top o fthe stack and it fits perfectly there :-)

To be continued ....

Please Share this Post if you Liked it !

Please Share this Post if you Liked it ! Thanks !
Related Posts Plugin for WordPress, Blogger...