Showing posts with label panel. Show all posts

Tuesday, January 19, 2016

Finally got 2 100W Flexible SunPower Solar Panels, after 2.5 years of wait


Finally, 2.5 years after its discovery on EVtv in October 2013, I just purchased 2 100W SunPower Flexible Solar Panels :) for 100 GBP each, plus 20 GBP of shipping (a bargain I think compared to all the ones I have seen over this period)


They will replace my very first lower power panels installed in 2009 but won't charge AGM batteries, they will be wired in series and plugged into an Enphase M215 micro inverter to directly feed Power into my home grid, improving low solar generation in winter hanging vertically by my windows


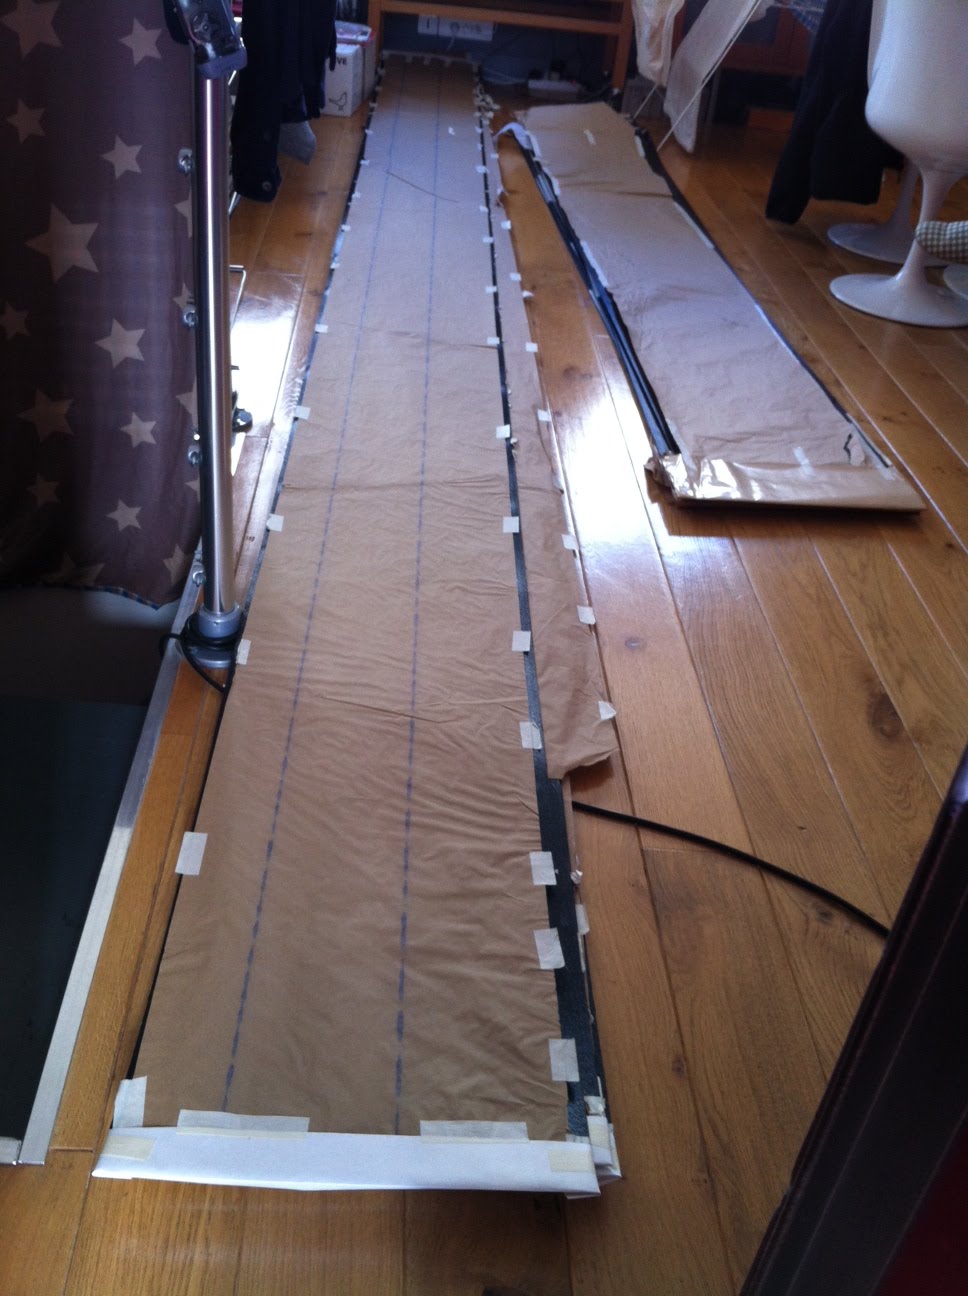
The 100W one is the smallest on the picture, 32 cells 4 x 8, ultra light, flexible, with holes already there to hang it ... You will understand better when I receive and install them ....

Here is the link, because I want to share with others this good deal I found today:
http://www.ebay.fr/itm/NEW-100W-12v-Energy-Semi-Flexible-Mono-Solar-Panel-100-watt-TUV-ISO-UK-/262238997891?hash=item3d0ea98d83


Wednesday, July 31, 2013

A German solar battery startup comes to America

A German company has engineered a lithium-ion battery system with wireless communication to enable homeowners to manage their solar electricity generation and use and control appliances.


The growth of solar panels installed on the rooftops of homes and businesses is paving a way for startups to make and create services from energy storage technology. A German startup, PROSOL Invest Deutschland, has developed a lithium-ion battery system that comes with wireless communication to control home appliances.

The company, founded in 2010, made its way to its first U.S. solar trade show, Intersolar in San Francisco, earlier this month, and attracted ample attention from attendees, some of whom noted that they couldn’t find similar technology unless they custom-build it themselves. The company has sold over 1,200 of its battery systems in Germany, Austria and Switzerland since 2011 through distributors and integrators such as Kyocera Solar and E.ON.


“It’s not just a backup power system, but a smart system for the home,” Christoph Ostermann, CEO of PROSOL, told us.

Energy storage promises to give increased flexibility to home and business owners who are using solar power on their rooftops. They can bank solar electricity for when they are not using it and then use that saved energy at night. They also can send power to the grid to take advantage of any incentives from their utilities.

PROSOL is part of a growing number of companies that design battery systems to be paired with grid-connected solar energy systems. The number of solar manufactures and installers who market and install both solar and energy storage is on the rise, and includes SolarCity and SunPower. Still, the solar-and-storage pairing isn’t common yet partly because a battery system tends to be expensive.

A PROSOL system, which is designed to pair with an array of solar panels, is a cabinet containing a bank of lithium-ion iron phosphate batteries, an inverter to convert DC power to AC and vice versa, a battery management system and a communication control panel that talks to appliances that are connected to a Z-Wave plug. A 7-inch touch screen on the door of the cabinet displays solar energy production and home energy consumption.


The startup’s core expertise lies in the software and controllers for controlling and monitoring the batteries and the engineering of the wires and cables in the cabinet to make it easy to install.

The current system is designed to control up to three home appliances with a mobile app, which also shows home energy use and making it not just a place to store solar electricity but a home energy command central. The idea is similar to what Nest and other companies have been working on to control heating, cooling and other home devices to use electricity more efficiently.

The battery system can control home appliances, and it’s developing software for controlling heating and lighting systems. The company’s energy storage systems come in different battery capacities for residential and business customers. It’s targeting the residential market with a 10 kWh system, for which it charges $18,000. A 60 kWh system costs $75,000.

Given that batteries remain expensive, their use as solar energy storage won’t become widespread without government incentives. The German government started an energy storage incentive program in May that offers rebates to offset 30 percent of the price of a system and low-interest loans for installing both solar panels and energy storage, or for adding storage to an existing set of solar panels.

Japan also put an energy storage rebate program in place, along with its renewable energy subsidies, after the Fukushima nuclear disaster in March 2011.

California passed a law in 2010 to investigate the use of energy storage to complement the increasing amount of solar and wind power generation. Last month, the California Public Utilities Commission proposed to require the state’s top three utilities to sign contracts to collectively buy 1.3 GW of energy storage from 2014 through 2020.

More on the Energy Storage System:  Sonnen Batterie

Source: GIGAOM

Tuesday, June 25, 2013

Solar Install continues ....

Last saturday, my contractor came to continue the Solar install started tuesday morning


Close up on the DC Breaker : 600V 20A

Wattson with EasyFit configuration photographed before unplugging the transmitter

and Easy Fit fitted back in the solar sub panel ( a bigger one here) on the Line wire going back the the main consumer panel

More wiring


Closer look at the solar sub panel and Wattson


Wattson Transmitter is temporarily plugged in and placed here

My consumer unit: See the Wattson Usage sensor is located on the Main Line wire, providing power to the whole apartment; Because the solar sub panel is wired after this, I need to use Easy Fit Y-cable

After going back on the roff the link all the Uni-Solar PVLs together as one string, DC voltage of this big string was then around 360V and the sun was not even shining because of the big white clouds


Now, after closing the SMA Sunny Boy cover panel and wiring it to earth, after switching on the DC and AC breakers, the inverter 3 LEDs blinked for one second, and then nothing ... No display, no LEDs, nothing was on ... :-( and after trying everything my contractor quickly determined that there was probably a problem with this unit ... No Luck


As my contractor advised, on sunday, in the morning sun, I measured again the DC voltage and it was showing 390V; I then tried to start the inverter gain, but still nothing ...

I also read the Sunny Boy 3000 documentation trying to find an explanation in the minimum DC voltage required and in the troubleshooting section


Later on, Mark Elliott from Energeno, Wattson maker, retweeted this pic of Wattson sensors install, with a little comment


Tuesday, June 18, 2013

Solar Install 2/3 - SMA Sunny Boy and Wiring

SMA Sunny Boy Grid Tie Inverter is now installed :-)

Today, after Roland Garros tournament - no parking available nearby and non stop bad weather, my contractor came to finish - almost - the Solar installation started in october 2012


First, we had to make some room in the kitchen cabinets for the inverter and the solar junction box/sub panel 

Here they come, in the morning sunshine, start unloading and bringing up their stuff 

Recently changed utility meter and old - but very sturdy - main AC breaker

Solar junction box / sub panel before install: Some lightning fuses on the floor will be added later in a larger panel which will accomodate them along with my outlet for the ESS 

A lot of stuff on the dining room floor: DC, AC cables, connectors, tools, etc

Access is clear now after unscrewing the groceries racks

A close look at the SMA Sunny Boy 3000 waiting in the corridor, apparently a used unit from the few scratches on the enclosure, but in mint condition inside (again this inverter should be there only for a little while waiting for their "home made" special inverter

Beautiful German quality unit 

Holding bracket screwed in the cabinet
Some 20mm holes for the hot air exhaust on top of the inverter, which is naturally air cooled - no fan - 


4mm2 Solar Cables: Red for Positive, Black for Negative ...

Solar DC cables are pushed from the appartment, up to the attic, to end up on the roof


32kg SunnyBoy is now mounted on its heavy duty thick metal bracket

Junction box / Sub panel is mounted right underneath, accessible at human height

Close up: they added a 220V outlet I provided to plug in my ESS directly: from left to right: Differential AC circuit breaker, outlet, DC circuit breaker - for solar DC cables - 

So it all fits nicely in this rather narrow cabinet, where the consumer panel is, next to the fridge

Damaged MC4 connectors: At my request they replaced all the MC3 connectors on the Uni-Solar PVL panels with MC4, the new standard, this is a lot of crimping on the roof, and my contractor could not finish everything in one long morning
But he promises to come back to finish very soon ... 
:

Inverter cover and cables


They left the Solar DC cable rolls here

Monday, October 22, 2012

Solar Panels Installation - 13 Uni-Solar PVL 124W 68W 31W

Today is the Big Day !


When I woke up, I discovered a very clear blue sky (what a relief !)

I had to take my day off to be there when it happens, but still I could not sleep anymore 

I checked right away and noticed that the forecast had not changed :-) and that it should be a nice day (all day)

My contractor called me to tell me he would come with one or two employees from another project nearby to help him out here and that he should show up right after lunch break so that the roof would be dry

And now they are here, the boss and one employee, on the roof installing the panels :-)

My last recommandations given showing pictures of the roof (from the sky) & Uni-Solar PVL technical documentation, ...


... my wife and I helped them passing the panels to put all of them on the roof

The ladder and opening to access to the roof

They installed some safety ropes between the chimney stacks

and started cleaning and scrubbing the the zinc so that the tar would stick better

It is getting hot on top of this roof in direct sun :-)


More pictures taken by my contractor:

All this was installed in only two hours and the employee told me it was the first time he installed this kind of panels and that it was easy

The PVL 68W and PVL 124W have been placed on either side of the U shaped building roof, avoiding attic air conduits, East and  West, in two strings of 3 68W and 3 124W; The additional small 31W has been added to the East chain

Here is a particular problem I was afraid of: the zinc sheets, overlapping each other, create a bump; I ask my contractor to be extra carefull at these points and not to try to put too much pressure on them because it would damage the solar panels ... He followed my advice and did better: he added a some silicone sealant between the zinc and the panel, blocking water and sticking this part too, which is a good idea :-)


Closer look at the nice result
I know, we have a lot of shade from the chimney stack, because winter is coming ..., but these panels are working do not really need direct sun to work well, they are fine with a white/grey sky
Also, if the shade is really bad, the cells affected are automatically shunted (each cell has a diode for that prupose), allowing better current flow only in sunny cells 

Awesome ! I am very happy with the job they accomplished :-)

Now I will have to be patient because their "Super" inverter is not ready yet, butI think it is worth the wait (I talked about it with the boss for an hour after the employee was gone)

Their website: Ecogelec


Please Share this Post if you Liked it !

Please Share this Post if you Liked it ! Thanks !
Related Posts Plugin for WordPress, Blogger...